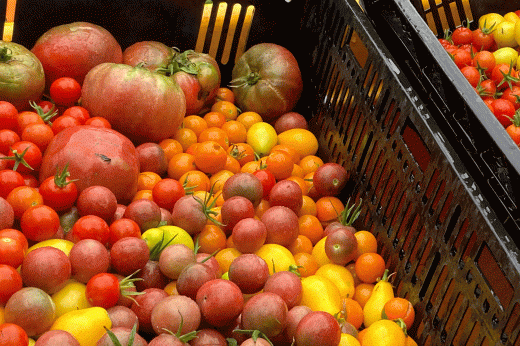
Saving the seeds from your homegrown vegetables saves money and deepens your personal connection to our food supply—and it’s also very satisfying. Tomatoes come in a wide variety of shapes, sizes, and colors, which makes it especially exciting to curate a delicious personal collection.

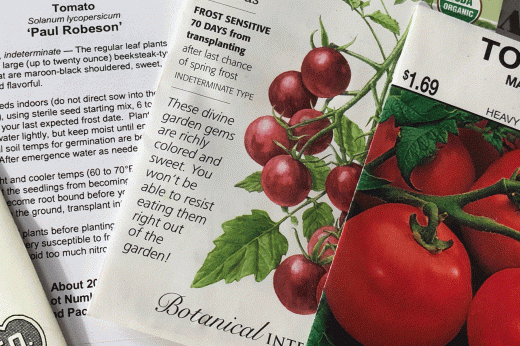
Your favorite open-pollinated varieties can all be harvested for seed collection so they can be planted and grown again next year. All heirloom tomatoes are open-pollinated and are said to “come true.” This means future plants grown from saved seeds will be like the parent plant. Avoid hybrid tomatoes since they are intentional crosses and will not come true.
When you are ready to collect your seeds, choose your very best fruits—those that are healthy, disease-free and ripe to overripe so the seeds inside will be fully developed. Below you’ll find what you need to get started and the simple method for collecting and saving. Happy harvesting!
Supplies

For the first phase, you’ll need:
- a tomato
- a clean jar with lid
- water
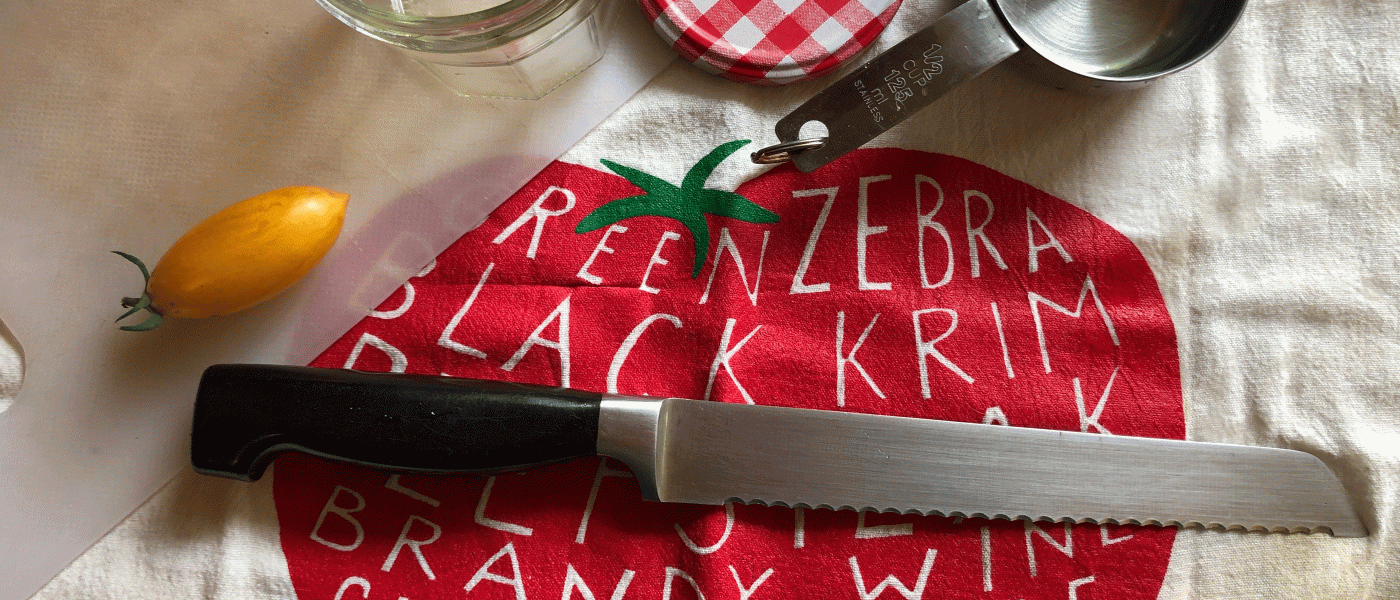
- serrated knife
- cutting board
Later you’ll need:
- a coffee filter
- paper plate or small paper
- a bag
- envelopes
- a pencil
Method

Step 1: Cut and Collect
Using a serrated knife, slice the tomato in half width-wise through the center, along the equator.
Observe the seeds. Some will be fully formed and some tiny. You might notice that the seeds have a gel cap around them. The gel gives tomatoes that delicious “tomato” taste and also inhibits the seeds from sprouting inside the tomato.
Squeeze half of the tomato so the seeds and gel fall into the jar. Repeat with the other half and more tomatoes of the same variety if desired.
Step 2: Soak and Ferment
Pour ½ cup of water into the jar; add lid and shake well. If saving lots of seeds, you can use more water and a bigger jar. Use ½ cup of water for every 2 tablespoons of tomato seed pulp.
Put the jar in a warm, not hot, place to ferment for a week. (Room temperature is fine.) The fermentation will dissolve the gel cap, which is important for saving tomato seeds. If not fermented, the seeds might rot during the drying process from too much moisture.
You might notice bubbles and mold on the top of the water. This is normal, and indicates fermentation is happening! After a week, carefully pour off the mold and pulp pieces, and most of the water; be sure the seeds stay in the jar.
Rinse seeds several times. Add water to the jar; shake. Let it rest so viable seeds fall to bottom. (Seeds that are not viable will float.) Then pour off water and any gel or plant fragments. After the last rinse, you’ll have clean seeds with no gel cap.
Step 3: Dry
Transfer clean seeds to a coffee filter, paper plate, or small paper bag to dry. (Paper towels tend to stick to the seeds.) Remember to label your seeds. Once totally dry, about a week later, put seeds in a clean dry jar or envelope. Or make your own custom envelope.
Step 4: Store

Seeds should be kept in a cool dry area out of direct sunlight. They can be viable for 3 to 10 years, sometimes longer. Consider writing the variety, date, and source of the tomato and any other special notes, like “heavy producer” or “ripens early.” Once stored, you’ll be all set to start your tomatoes inside in early spring!


